Introduction:
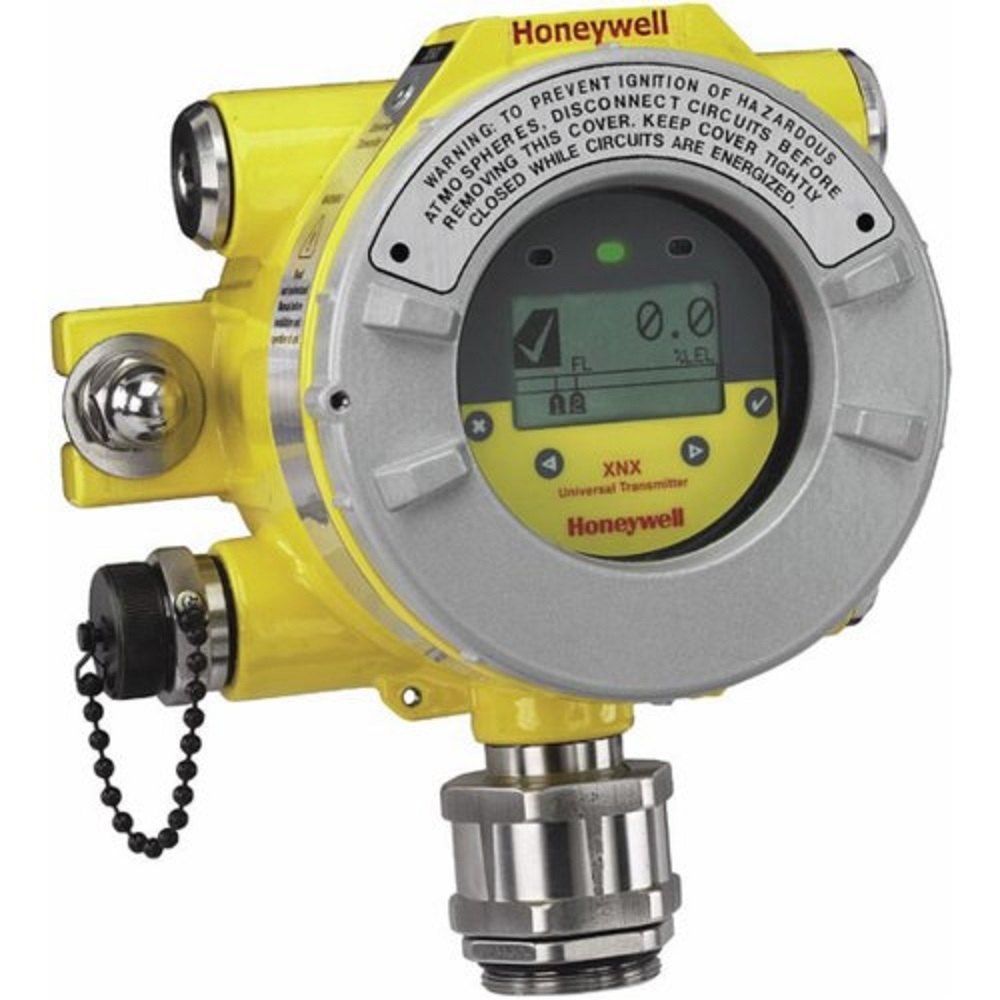
Xnx Universal Transmitter Calibration: Calibrating the XNX Universal Transmitter is a critical step in ensuring the accurate and reliable operation of this versatile device. Whether you’re a professional technician or a curious user, understanding the calibration process is essential.
In this article, we will walk you through the calibration of the XNX Universal Transmitter, making it easy to comprehend and follow.
Why Calibrate?
Calibration is like fine-tuning a musical instrument to ensure it produces the right notes. Similarly, the XNX Universal Transmitter needs calibration to ensure it provides precise measurements. This accuracy is crucial, especially when the transmitter is used in applications like gas detection, environmental monitoring, or industrial processes.
Step 1: Prepare Your Equipment
Before you start the calibration process, gather all the necessary equipment, including a compatible calibration gas, calibration kit, and a suitable environment. Ensure that safety precautions are followed, especially in hazardous settings.
Step 2: Power Up the Transmitter
Turn on the XNX Universal Transmitter and let it stabilize for a specific period to ensure accurate readings. This time may vary depending on the manufacturer’s recommendations and the specific model of the transmitter.
Step 3: Access the Calibration Menu
Navigate to the calibration menu on the transmitter. This can usually be done through the device’s display screen or a connected computer interface. Follow the manufacturer’s instructions for accessing the calibration mode.
Step 4: Zero Calibration
Zero calibration is the process of setting the transmitter to read zero when no gas is present. This is a critical reference point. Follow the on-screen prompts to complete the zero calibration. Make sure the transmitter is exposed to clean air during this process.
Step 5: Span Calibration
Span calibration is used to set the transmitter’s upper measurement limit. You will need to introduce a known concentration of the calibration gas to the device during this step. Follow the prompts to complete the span calibration.
Step 6: Verify Calibration
After completing both zero and span calibration, it’s important to verify the calibration’s success. This may involve comparing the transmitter’s readings to a reference standard or conducting a function test. Ensure that the transmitter is performing within the specified accuracy range.
Step 7: Record and Document
Proper record-keeping is essential for compliance and traceability. Record the calibration date, results, and any adjustments made during the process. This documentation is crucial for audits and quality control.
Step 8: Regular Maintenance
Calibration is not a one-time task; it’s an ongoing process. Regularly scheduled calibrations help ensure the transmitter’s continued accuracy. Follow the manufacturer’s recommendations for calibration intervals.
Conclusion:
Calibrating the XNX Universal Transmitter is a straightforward process when you follow the steps outlined in this article. Achieving precise and reliable measurements is essential for the safety and efficiency of various applications.
By understanding and implementing proper calibration, you can confidently utilize this versatile device in your operations. Always remember to prioritize safety and follow manufacturer guidelines for calibration and maintenance.