How To Set Up Dual Monitors?
In this article, we are going to learn in a detailed manner about How To Set Up Dual Monitors on Windows.
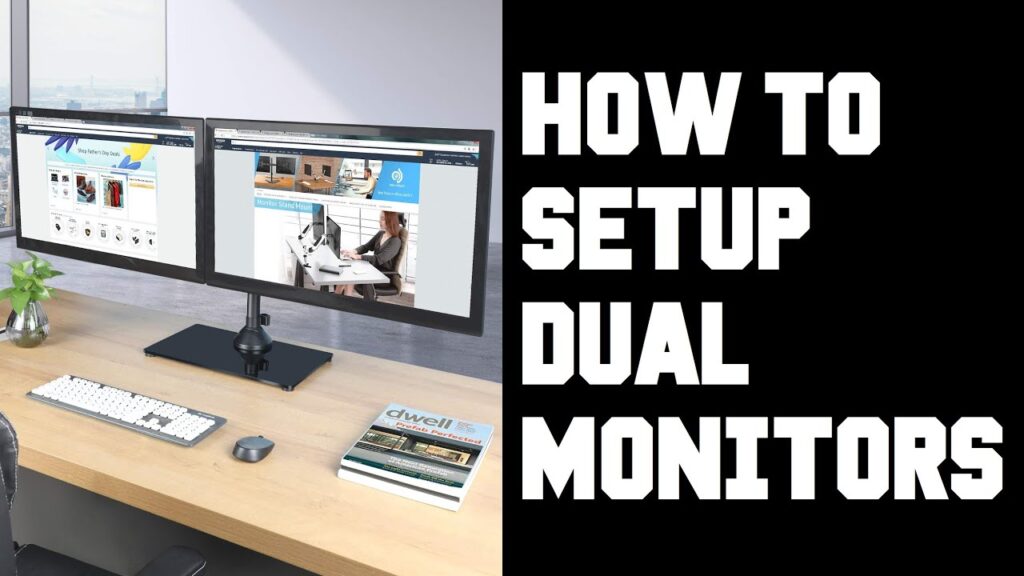
Using two monitors on a single display enables you in doubling up the on-screen space with which you work daily.
STEP 1: CONNECT THE SECOND MONITOR
The first step that you have to check is whether the motherboard of your system that you use supports the Dual Monitors system or not.
Nowadays, in this Modern World, almost all Motherboards come equipped with a System that supports the installation of the Second Monitor. However, to check whether your system allows the connection of more than one monitor, follow these steps.
- Find out the name of your Mother Board.
- 2. Look for the name of your Motherboard on Google or any Search Engine.
- 3. View the features that the Internet is showing regarding the Motherboard that you have.
- 4. See that the motherboard has a feature called “ Dual Display “ or “ Multi Display “ or not.
Read Also – How To Capture A Screenshot On A Windows PC/Laptop?
- How To Set Up Dual Monitors?
- STEP 1: CONNECT THE SECOND MONITOR
- STEP 2: ANALYSE THE VIDEO CONNECTION TYPE OF YOUR COMPUTER
- STEP 3: KNOW THE CONNECTION TYPE OF YOUR SECOND MONITOR
- STEP 4: CONNECT THE SECOND MONITOR TO THE COMPUTER
- STEP 5: CONNECT THE SECOND MONITOR TO A SOURCE OF POWER
- STEP 6: SWITCH ON THE SECOND MONITOR
- STEP 7: SETTING UP DISPLAY PREFERENCES ON WINDOWS
STEP 2: ANALYSE THE VIDEO CONNECTION TYPE OF YOUR COMPUTER
If your monitor does not have a video out port that supports a second monitor, check if it has a USB 3 or USB C port.
STEP 3: KNOW THE CONNECTION TYPE OF YOUR SECOND MONITOR
Your Second Monitor should have any of the following Connection Types: VGA, DVI, Display Port, HDMI, USB C.
If your Monitor’s connection is different from that of the Computer, then you need to facilitate the connection through an adapter cable to be connected with the monitor. For Example, if your computer has an HDMI connection, but the second monitor has a DVI connection, then you need to use an adapter that will use an HDMI to DVI connection.
STEP 4: CONNECT THE SECOND MONITOR TO THE COMPUTER
Plugin the one end of the Second Monitor’s cable into the computer’s backside. And the other end of the cable that is there, connect it to the second monitor.
There will be certain computers, where you can see that have a USB C port, through this facility, you can be able to connect multiple monitors through the single port using USB C Dock.
STEP 5: CONNECT THE SECOND MONITOR TO A SOURCE OF POWER
Plugin the Second Monitor’s power cable into an outlet that is electric, enabled with a switch, such as a wall socket.
STEP 6: SWITCH ON THE SECOND MONITOR
You just need to plug in your second monitor and turn the power on, and you will be able to view that your dual-screen will automatically pop up.
But if you want any preferences for how your screen should look, you should now follow these steps to do so.
STEP 7: SETTING UP DISPLAY PREFERENCES ON WINDOWS
In your Laptop or Computer, go to the Windows start button located in the left corner, the bottom of the screen.
After clicking on it, you will find the settings option, Now open the settings menu.
Then you will find an option called System. Under that, you will find the option called Display.
Click on the Display Tab. Scroll down till you find the option within which is the “ Multiple Displays”.
Click on the Multiple Displays, and you will find a drop-down menu available.
Now, in the Dropdown menu, you will find multiple options. Click on “ Duplicate these Displays”. This option allows you to view the First monitor’s contents on the monitor that you connected.
There is another option which you can also select.” Extend these Displays .” This option will allow your first computer to run as an extension for the second monitor that is connected.
Now select the option “Apply” to facilitate the option.
So these are the steps that you need to follow to connect the second monitor into your existing system. After the second monitor is connected, and you select the option “ Extend these Displays”, you will find that your desktop or your laptop has split its screen between the computer and the monitor.
Hopefully, this Article is Helpful and will help you in your attempt to set up the second display on your computer without much problem.